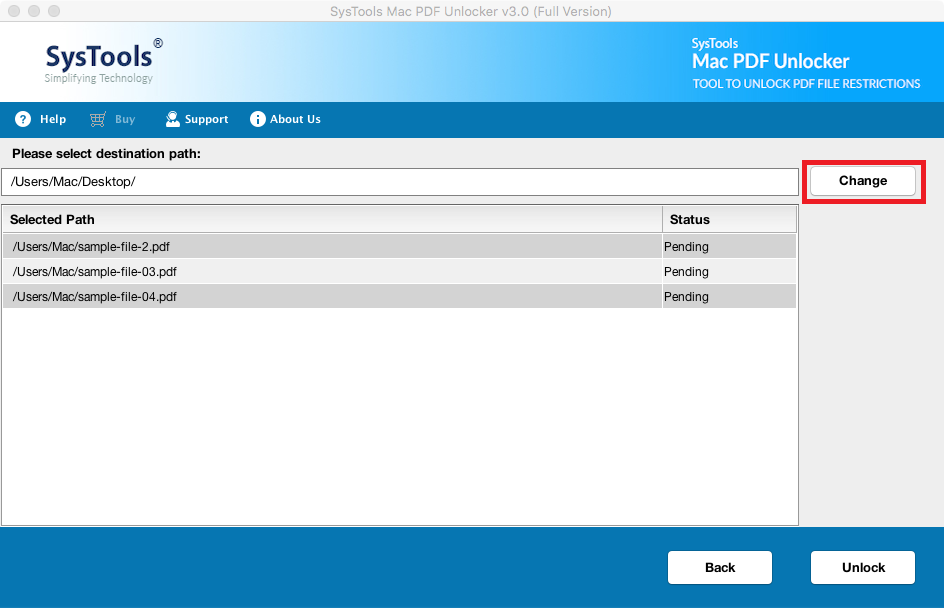
By default the destination location of the Unlocked PDF files is Desktop. To change it click on the 'Change' button
STEP 2
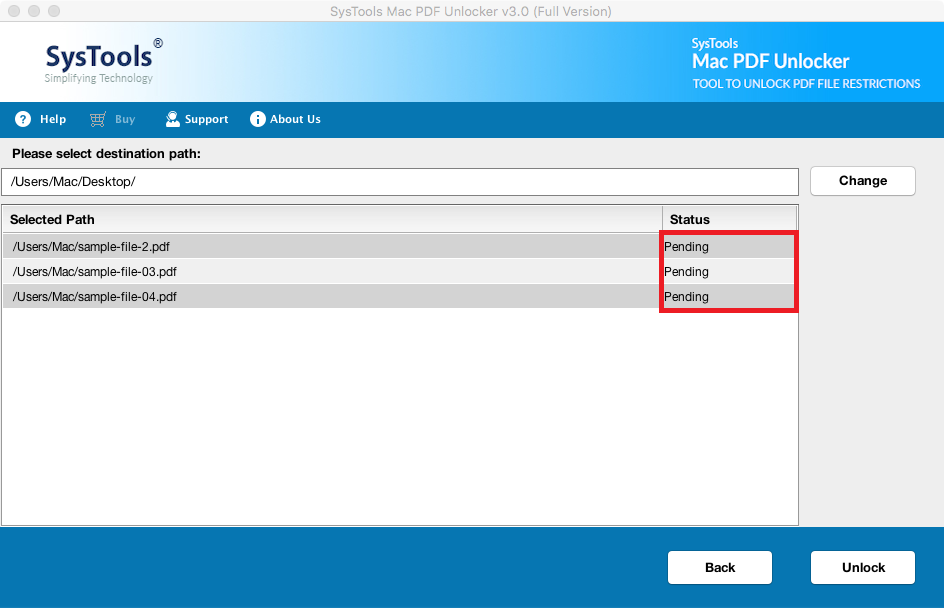
As soon as the file gets loaded, software shows the Unlock Status of the PDF document as Pending
STEP 3
In the next step, click Unlock PDF button and initialize the process of PDF unlocking
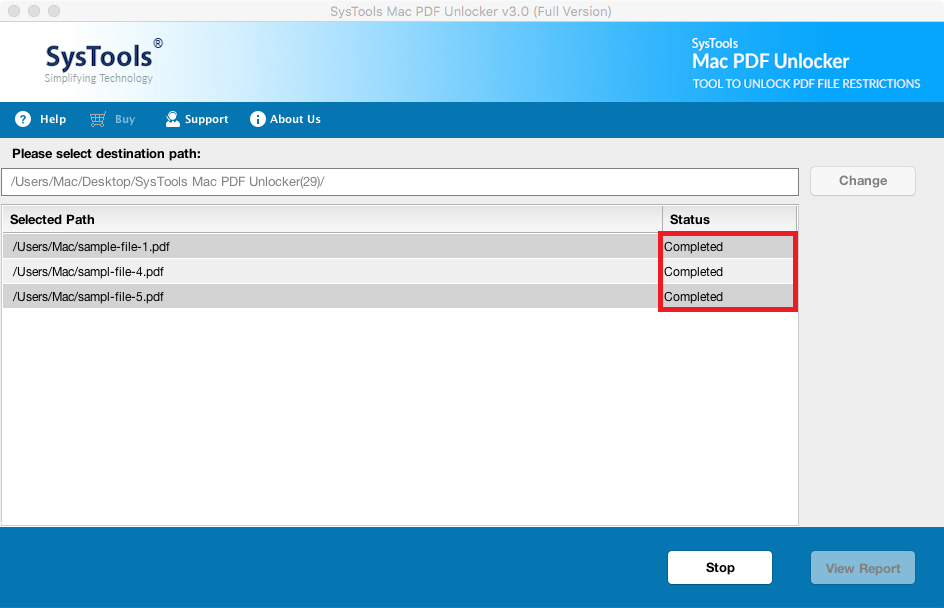
STEP 4
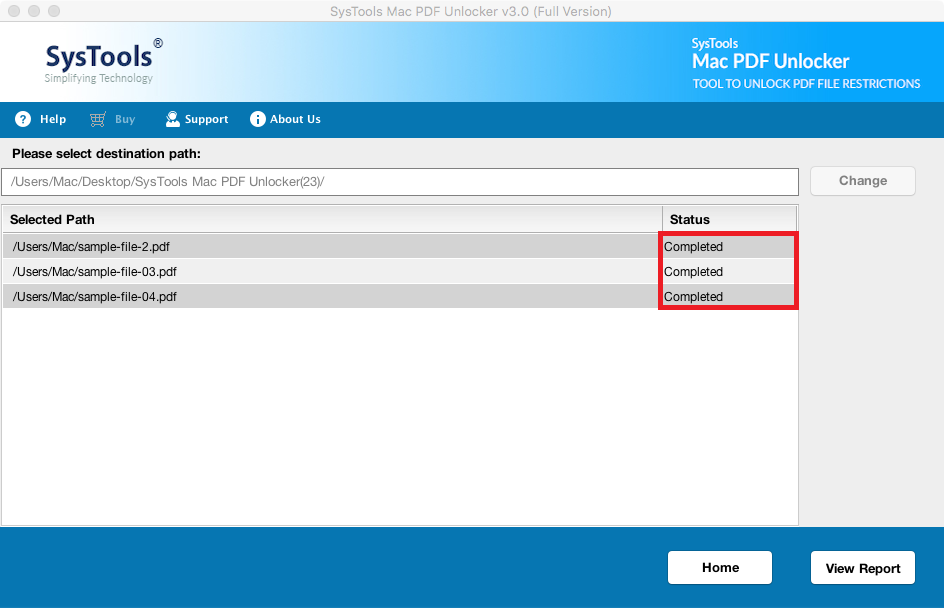
As the file gets unprotected the Unlock status of the PDF gets changed from Pending to Completed
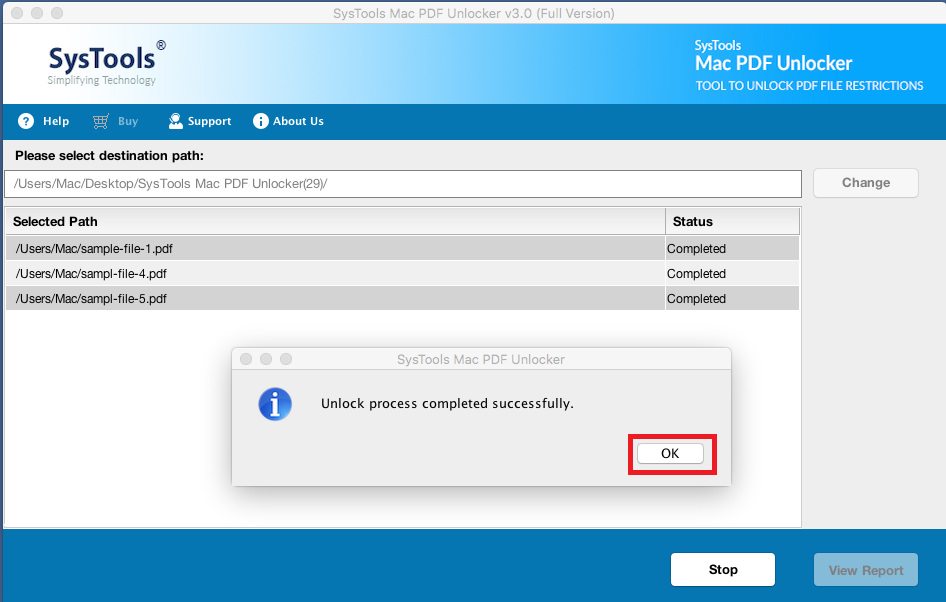
STEP 5
A message box “Unlock process completed successfully” pops up when the PDF gets unlocked successfully. Click "OK" to proceed further.
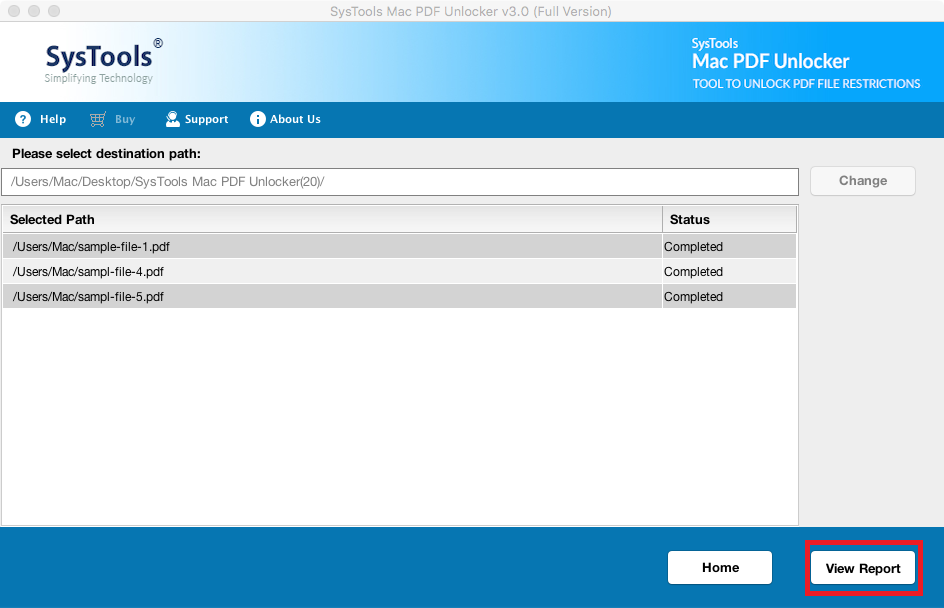
STEP 6
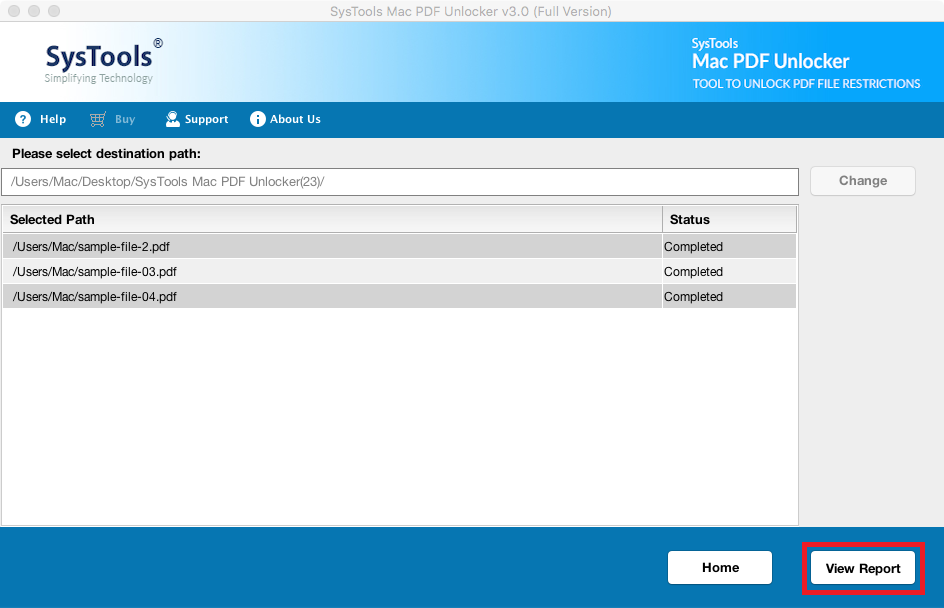
Click on View Report option to view the report generated by the software after removing the restrictions from PDF documents
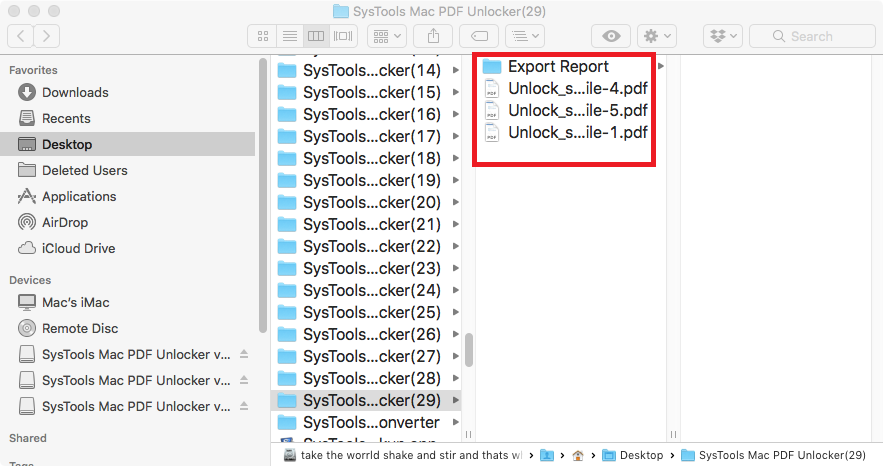
STEP 7
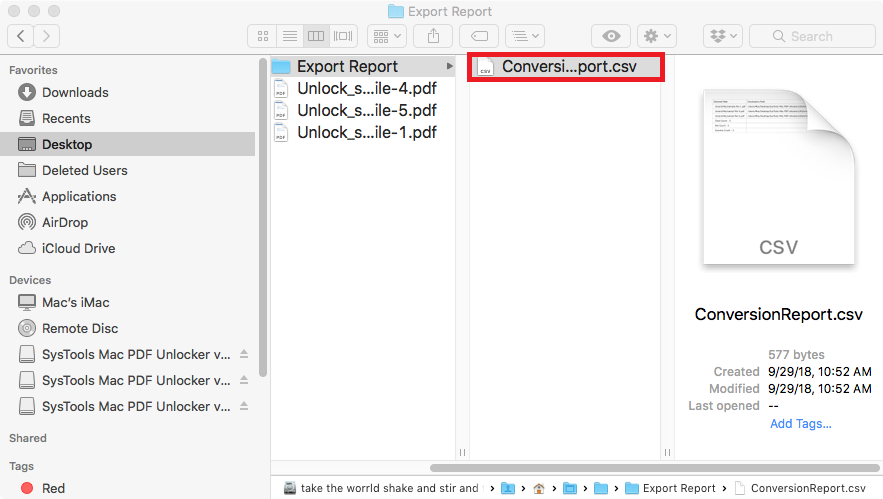
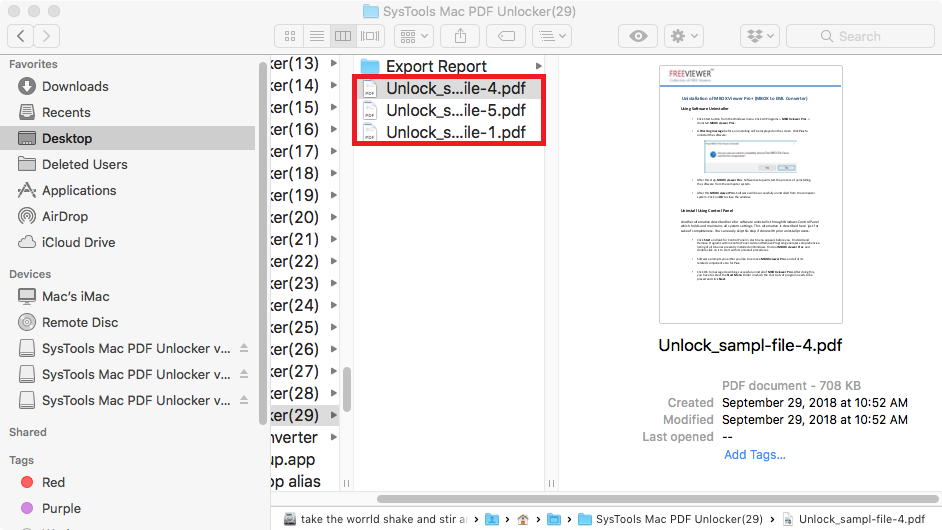
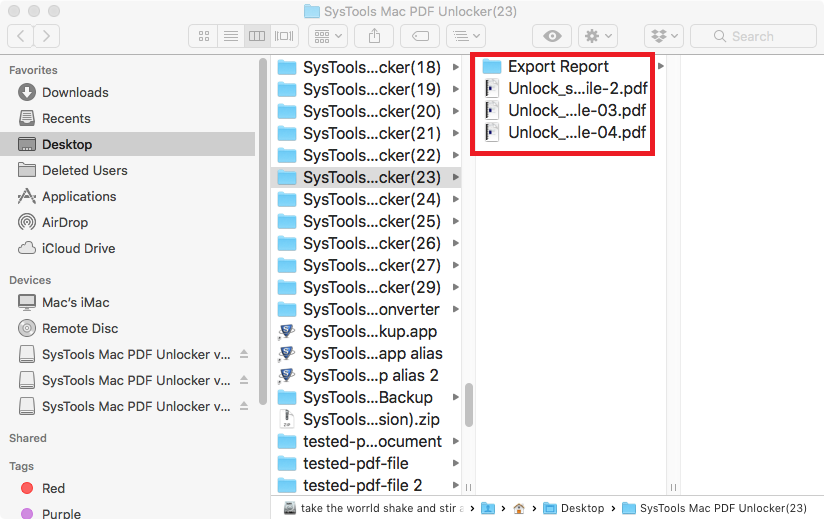
After clicking the View Report option, the software shows the Export Report and Unlocked PDF Files
STEP 8
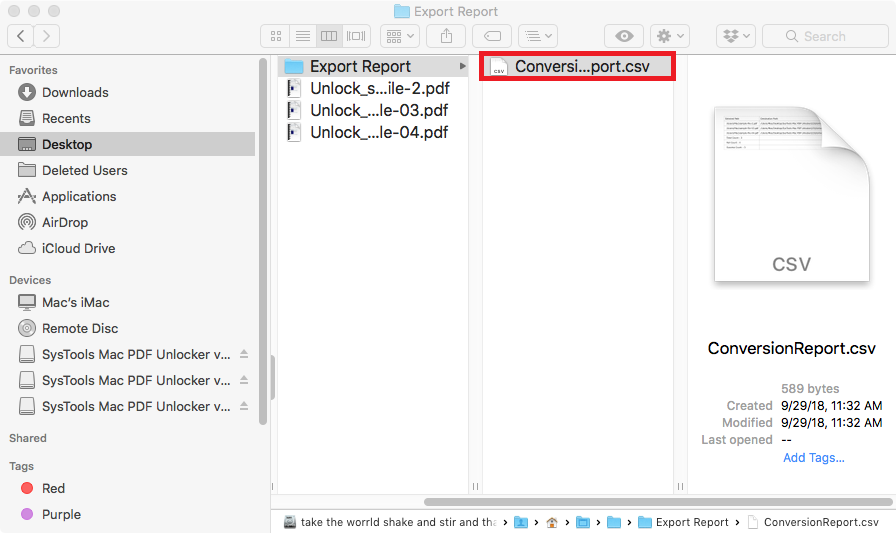
The Export report is created in the .csv file format.
STEP 9
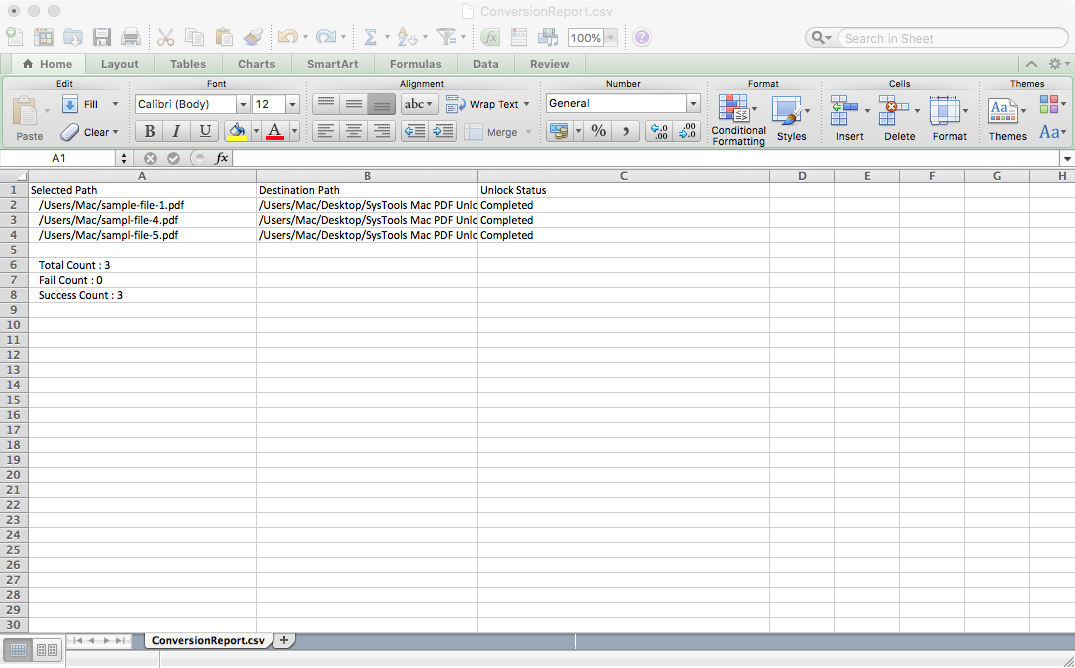
This CSV report contains details like Selected path, Destination Path, Unlock Status, Total Count, Fail Count and success count.
STEP 10
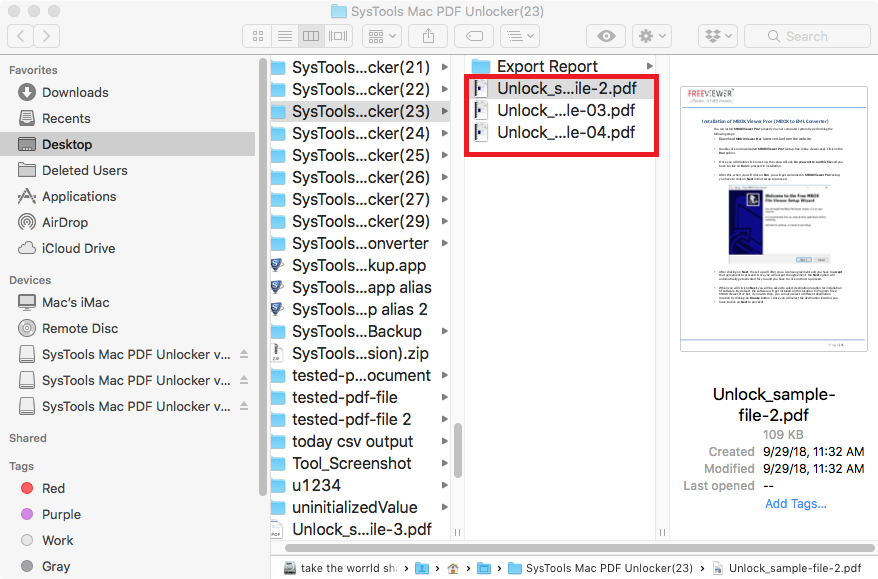
Lastly, view unsecured PDF files free from all restrictions like copying, printing, editing, signing, etc.
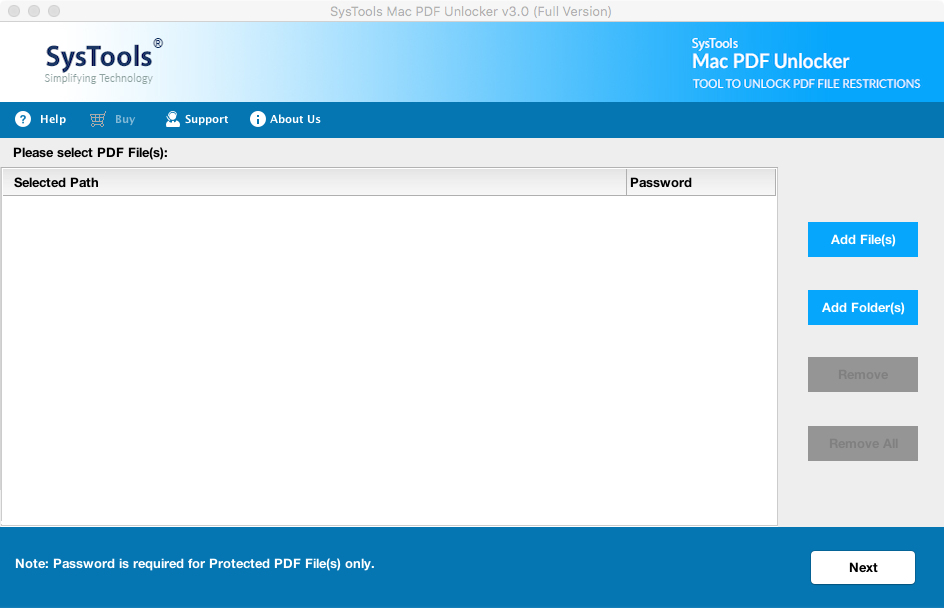
STEP 1
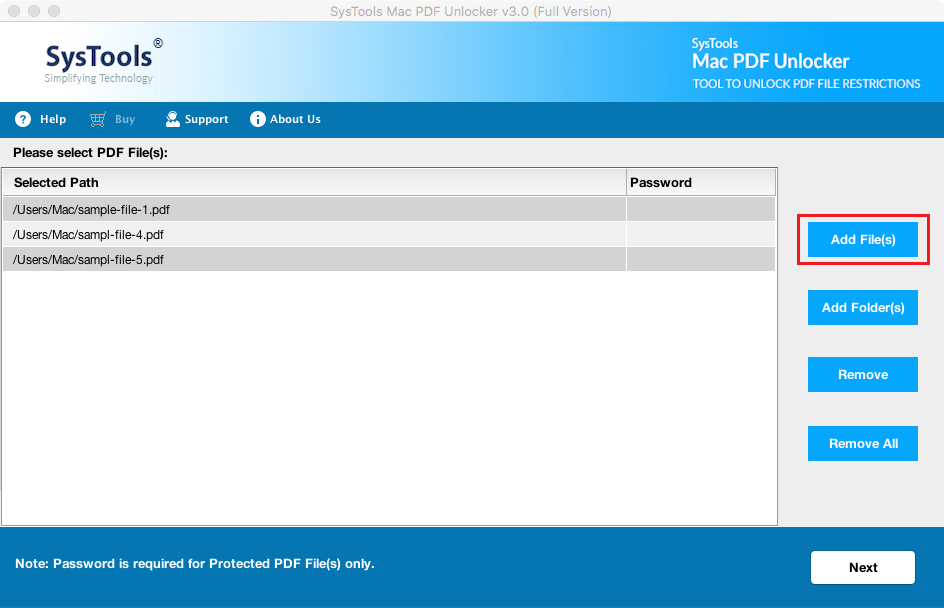
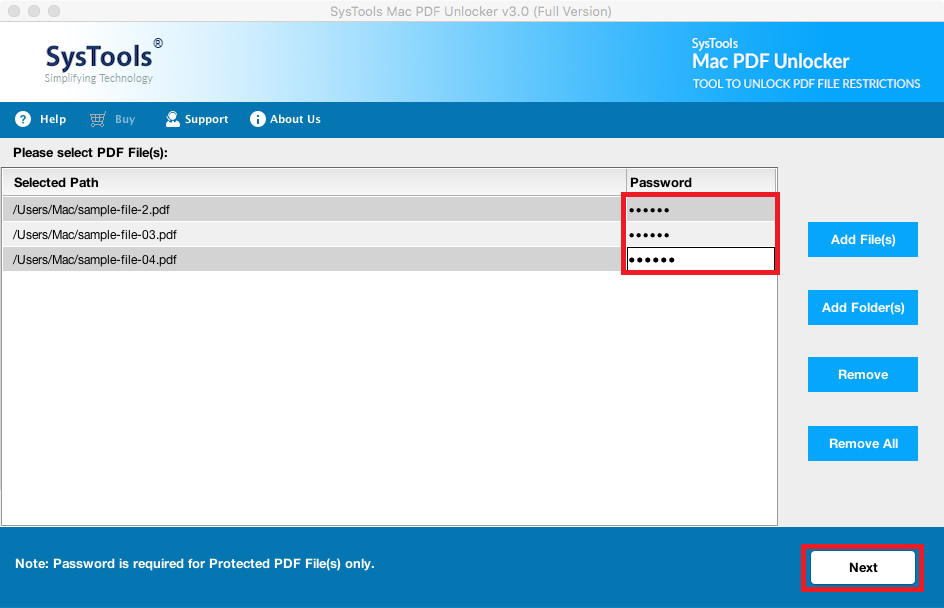
After adding the PDF files Enter the password and click the Next button
STEP 2
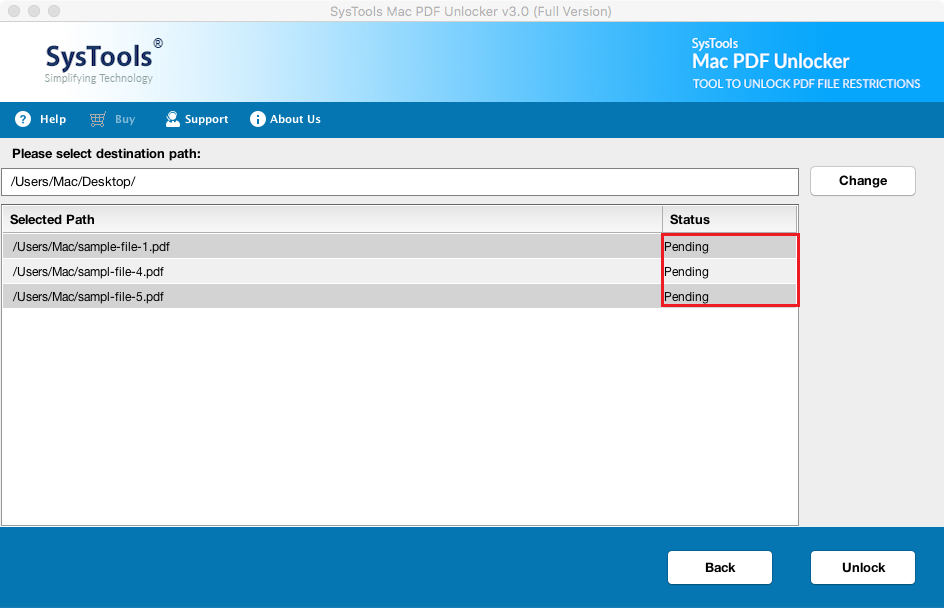
The default destination location for the unlocked PDF is the Desktop. But, users can also set the location as per their requirement by clicking the Change button.
STEP 3
Initially, the Unlock Status will be shown as Pending and it gets changed accordingly after the PDF unlocking process.
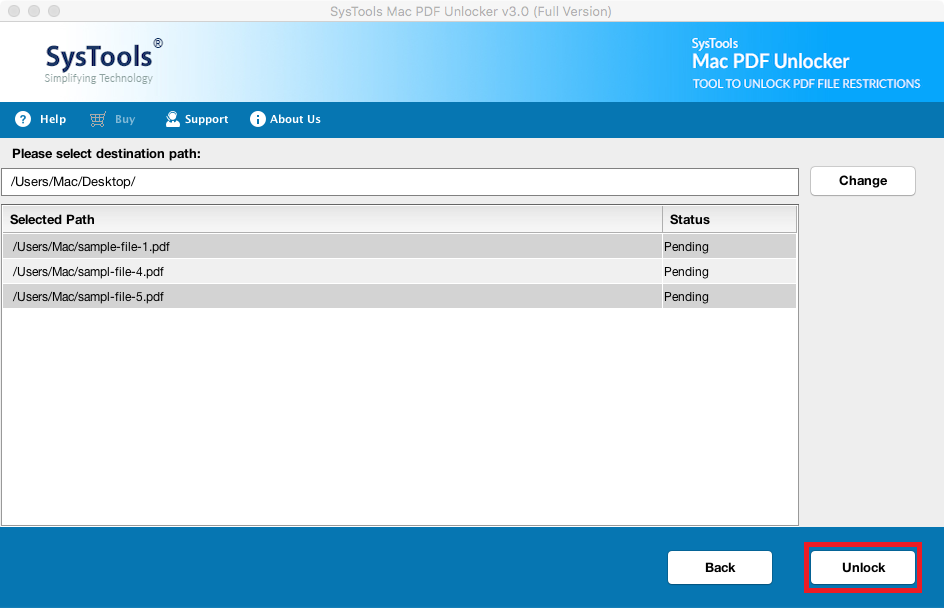
STEP 4
After that, click the Unlock button to begin the process of removing PDF restrictions.
STEP 5
As the file gets unlocked or unprotected the Unlock Status gets changed from Pending to Completed
STEP 6
The pop-up message i.e. Unlock Process completed successfully. gets displayed. Click OK button.
STEP 7
Click the View Report option to proceed further.
STEP 8
Now, the software displays the Export Report & Unlocked PDF files
STEP 9
The Export Report is created in CSV file Format.
STEP 10
This CSV file contains details like Selected path, Destination Path, Unlock Status, Total Count, Fail Count and Success Count
STEP 11
Lastly, View all unlocked PDF files which are free from all restrictions like copying, printing, editing, signing, commenting, etc.